Exporting Solder mask with untented Vias as SVG from KiCad
Turn around time as well as cost for getting PCBs made from a PCB house is pretty high, especially when you want to make a single board for a special project or as part of prototyping. Its even more frustrating when you realize that you have messed up some things in the design and you have to do another iteration. From some time now, i have started milling my own PCBs at home using a CNC machine which has worked our really well for boards with a reasonable track width.
One of the things I struggled a bit in the beginning was exporting solder mask as SVG. I print the solder mask on a transparency paper and use UV curable ink to apply solder mask to the board. At home i dont have a way to put vias on double sided PCBs, I solder a small wire on both sides to make it act like a via. When exporting solder mask layer as SVG from KiCad, there is no option to tell it not to tent vias. It is available when exporting data as Gerber but not when exporting it as SVG. Now this is a problem.
The way around is to export the solder mask layer as Gerber file and use Flatcam to convert it to svg. The workflow is as follows.
Use File->Plot to get the plot tab, check "Do not tent vias" and plot the bottom and top solder mask.

Open the Gerber file in Flatcam. One thing to make sure is that the units you have used in KiCad and the units under project options in Flatcam are the same. In my case i use mm. Now export the file as and SVG from file menu in Flat cam.
 |
| Open the gerber in Flatcam |
 |
| Units on both KiCad and Flatcam should be same |
Since this is Green in color we cannot print this directly, it wont be dark enough to block UV from exposing the paint in on the pads. I use Inkscape to make it black.
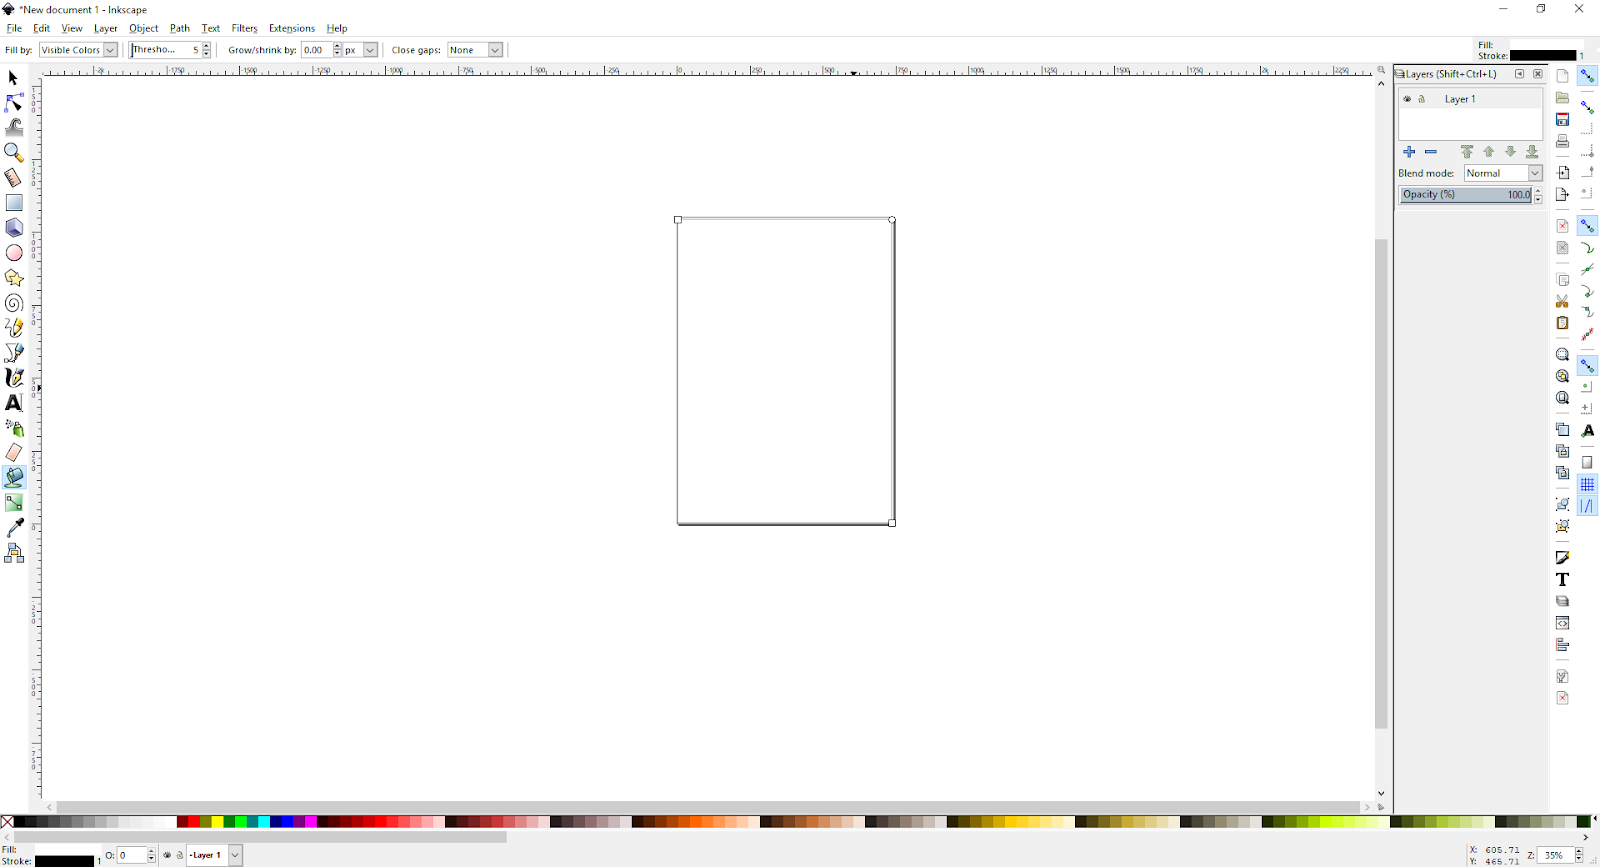
Open a new document in Inkscape, follow the pictures for the rest of the work flow.
 |
| Add a rectangle with the size of the paper |
 |
| Fill the rectangle with white |
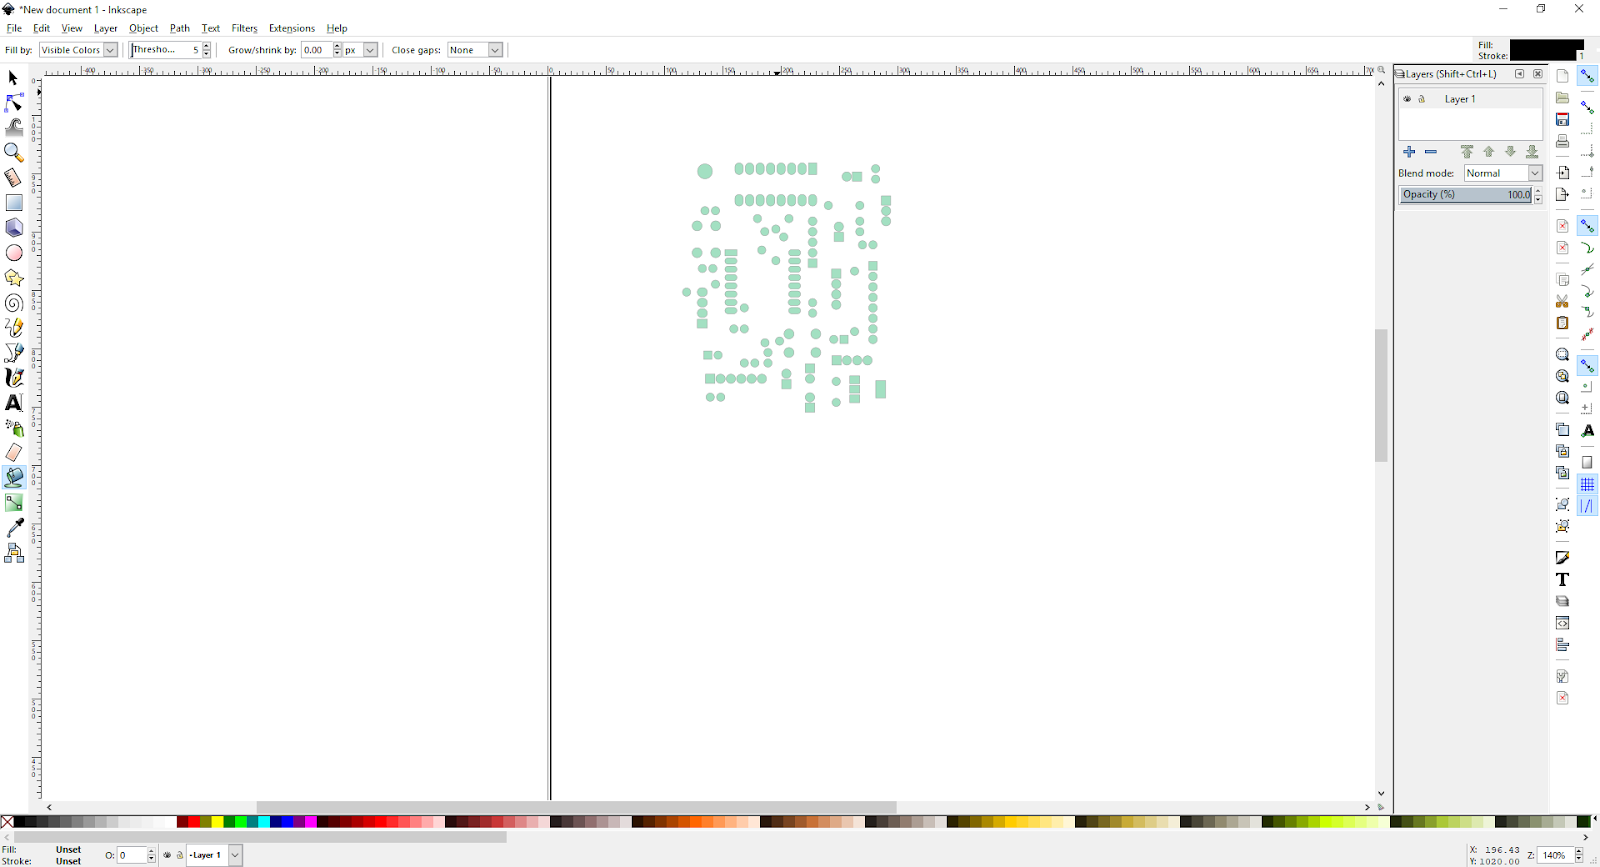 |
| Open the SVG file |
 |
| Fill it with black |
 |
| use Ctrl+d to make a duplicate |
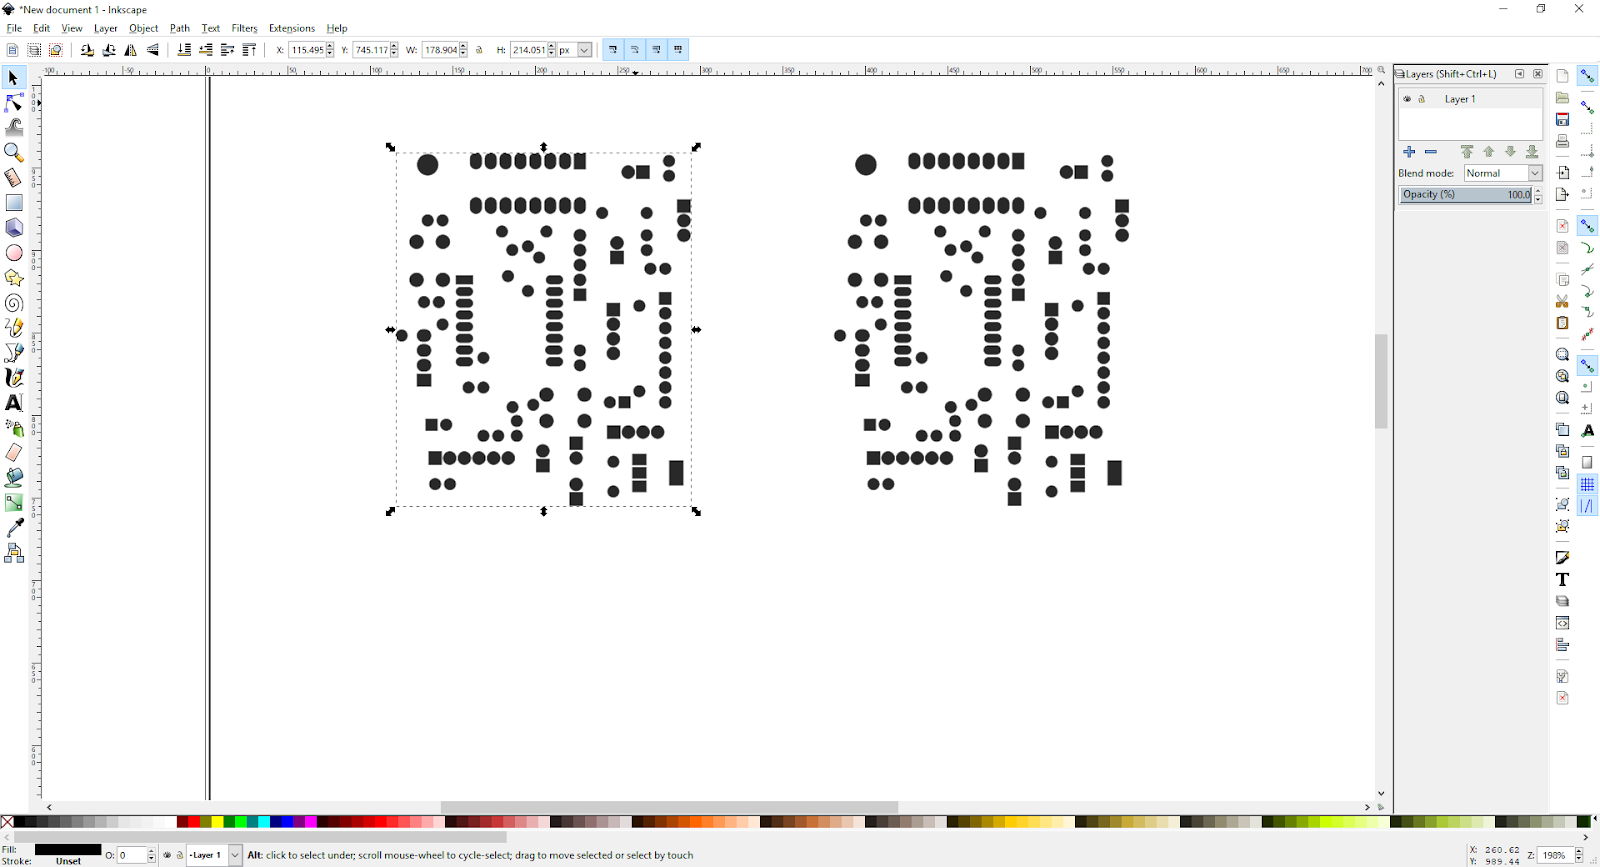 |
| Make one more duplicate on top of each to make it really dark |
This can now be printed on to a transparency paper using a laser printer. While printing make sure to use the highest quality setting to get dark prints. Cut these and line them up and use super glue to hold them in place.
Thats all folks! Will capture the solder mask workflow in another post.
Comments
Post a Comment